Interior Wall Linings
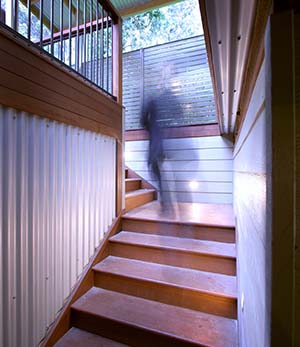
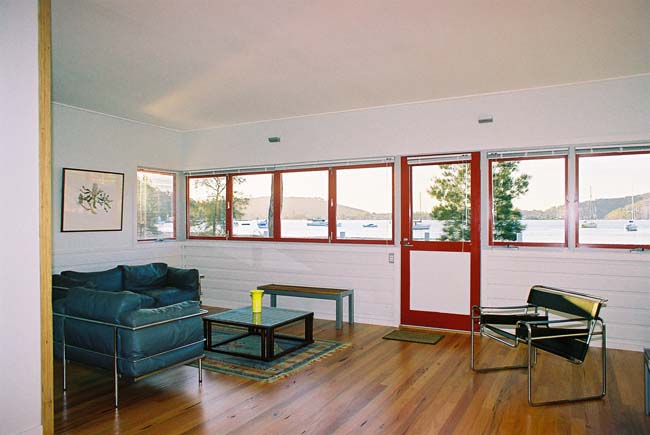
Eclectic mix of wall linings
Once the house is considered to be at Lockup stage (i.e when you can actually keep out the elements and people), work can then begin on fitting out your internal spaces including internal wall coverings or wall linings.
Commonly plasterboard is used to line the walls of residential homes and units. Plasterboard is a very heavy product and will take two people to hold and fix the sheets into place with a combination of glue and nails. The plasterboard is attached directly to the inside of stud (timber or steel), brick and concrete walls and the manner of fixing can vary.
For residential buildings the choice of internal wall linings is as endless as your imagination. Your internal wall lining could be: 3D panels, plasterboard, timber boards, timber panels, plywood panels, formed concrete or corrugated Colorbond sheets. But the choice is usually based upon what style of house you have, what type of look you are trying to achieve and how you want to deal with the junction between the wall lining and the ceiling.
Plaster Board
Plasterboard is available from any hardware store specialising in building supplies, and is manufactured slightly different by various companies such as CSR (their product is called Gyprock). This sheet product is a sandwich like board with cardboard on the outsides and a core of gypsum plaster. It is the most common method of wall and ceiling cladding in Australia. This is due to its malleable surface, making fixing to other products, and alterations to its surface relatively easy. Any joins, gaps and holes are either filled in with gypsum “putty” or taped and plastered. It is then sanded smooth to create a perfect and seamless surface.
The straightness of plaster walls is only as good as the framing to which it is fixed. A straight edge should be used to check that wall studs, noggings and ceiling joists are in true alignment and trimmed back or packed out where necessary. All surfaces should be clean and dry.
The thickness of the board depends on the distance between studs or ceiling members but is generally 10 or 13 mm for walls and 10 mm for ceilings. For ceiling with joists every 600 mm, special lightweight plasterboard for ceilings with anti-sag properties should be used. For walls in wet areas plasterboard is not used and a fibre cement sheet is required.
Special acoustic plasterboard can be purchased and used where sound insulation is required in areas such as a common wall between a bedroom and a living area or a bedroom and a bathroom.
IMPORTANT TIP
It is very difficult to get a totally flat surface on plasterboard walls. It may look flat to the naked eye but the places where the plasterboard sheets meet stand out slightly higher due to the necessary application of plastering tape and plaster to cover the joins. This installation method proves to be a problem when people choose lighting that highlights wall. Typically Wall Wash lights and similar types of lighting will make a standard finish wall look like a poorly finished surface, and to no fault of the plasters. The levels of finishes are as follows and should be discussed with your plaster before a quotation is given. Remember – the higher the finished, the more expensive the job will be.
Level of plasterboard finishes as outlined in AS/NZS 2589:
- Level 5 – highest level for super gloss painted surfaces and surface that will have wall wash lighting.
- Level 5 – for super gloss painted surfaces and wall wash lighting and similar
- Level 4 – for standard domestic applications and if no level of finish is stated.
Timber Boards
Gyprock and painted shiplap timber boards
Timber boards may be a welcome alternative to traditional plasterboard, but they are more expensive and not easy to install.
Timber boards will only be as straight as the battening to which they are fixed. They also require fireproof kraft paper to be laid between boards.
Prefinished timber boards are available with tongue and grooved which makes fixing easier. They come in a variety of timbers. Light coloured timbers (and timbers that don’t darken with time) are best for dark timber will make the room seem smaller.
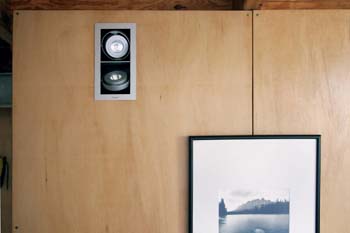
Bleached and satin treated
plywood wall cladding
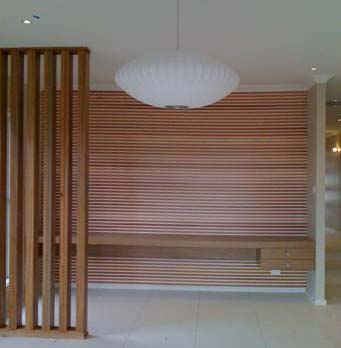
Timber wall lining examples, above & below.
Pictures courtesy of Cedar Sales.
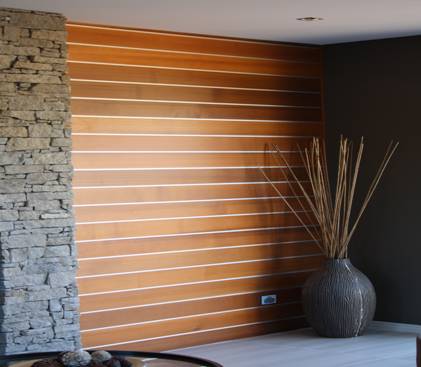
Timber panels
Prefinished timber sheets that look like natural boards are available in a variety of timber styles, grades and widths (81mm, 106mm, 131mm widths.)
Some timber panels are made for painting only. So if you intent to oil your timber be sure the product will look good for your application before you buy.
Most panels are tongue and groove for easy assembly. Timber panels offer a cost effective alternative to natural timber boards, and in the right situation can look very good.
Plywood
Plywood must be a serious consideration for cladding a contemporary environment. It feels modern, and is both welcoming and warm. For that reason it works well when used alongside all types of steel including; Zincalume sheeting and Colorbond.
Plywood can be bleached (hydrogen peroxide and sodium hydroxide), treated with oil or water based sealants to enhance its natural appearance, and even tinted. Any treatment will increase its sheen and brighten its look. Plywood comes in various grades and panels need to be selected with care so that their colour and grain are similar.
Evolution plywood from Boral is rough sawn plantation pine cladding that uses the same strong bonding resins as used in marine ply. It is available in solid, grooved or V Grooved, shiplapped or butt joined, and can be purchased pre-primed if it is to be painted. The rough sawn “V” shaped groove looks good next to fibre cement or Zinacalume.
A more upmarket type of plywood is the quite beautiful hoop-pine which, due to its finer finish, works well next to white plasterboard.
If plywood is to be fixed to the wall with a groove (shadow line) between panels, the timber beneath the groove is best painted matt black. The join between panels, if exposed, must be exactly the same width; which some times is tricky if walls are not square. Fixing timber sheets for ceilings in this manner is very difficult due to the fact that it’s hard working overhead with large panels (and will require 2 or 3 people to do it) and a ceiling is rarely truly square.
Alternatively, a strip of timber can be fixed over the groove. But this method, particularly for the wall joins, can detract from the appeal that an expanse interseting timber provides. (It is also the old fashioned way of fixing panels.)


