Laying your own carpet
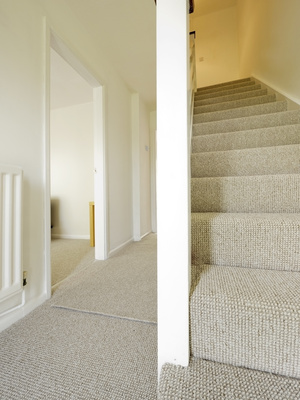
Carpeting your own floors is a cost effective and quick way to add value to your home. It can instantly freshen the look of a tired home and is quite simple to do.
Follow our 3 easy steps to warm, clean, beautiful carpet.
Step 1 – Prepare your floor base
You will most likely need to remove your existing floor coverings to take your carpet. Ensure that your floor is level and clean.
Tools you’ll need:
- Tacks
- Tack strip
- Hammer
- Malet
- Underlay
- Carpet
- Needle & course thread
- Wall trimmer
- Knee kicker
- Stair tool
- Hot melt tape
- Carpet stretcher
Step 2 – Installation
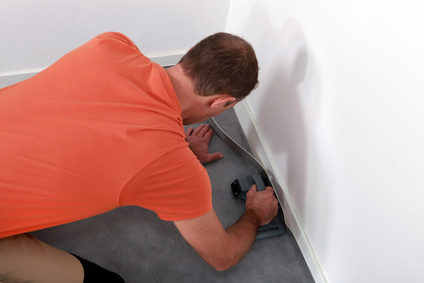
Firstly – nail in your tack strip around the entire perimeter of the area to be carpeted, except any doorways. Leave a gap between the tack strip and the wall (the width of the new carpet’s thickness). Hammer down your strip and spread out your underlay with the smooth side up within the tack strip area, ensuring it’s the correct type recommended by the carpet manufactures.
Once you’ve got your underlay down, ensure you trim away the carpet’s factory selvage (the edge of a carpet that is woven so that it will not fray or ravel) as recommended by the manufacturer – this is usually about 2 cm from the selvage (if necessary).
Roll out your carpet and let it relax before fixing it into place. Before and during the installation ensure you have plenty of ventilation in the area where you’ll be laying your carpet, and make sure you keep the area dry.
If you are planning to use hot melt tape to seal the fresh cut seams of your carpet you’ll need to use the carpet stretcher to condition the carpet for the non-stretchy hot melt tape. For tufted carpets you should use either tape as well as latex, hot melt tape, electric tape or pin tape. For most woven carpets, you will need to hand sew and pin tape areas as recommended.
Once you have the carpet in place and tape joins have settled, use the power stretcher as recommended by the manufacturer. Only apply the degree of stretch required for your carpet type as recommended, the stretcher smooths & stretches the carpet into it’s final resting place on top of the tack strip. Hook the carpet onto the tack strip and trim the excess pieces of carpet. When using a wall trimmer be careful to leave enough excess carpet to tuck into the gap and don’t staple your carpet to the tack strip.
Step 3 – Carpeting stairs

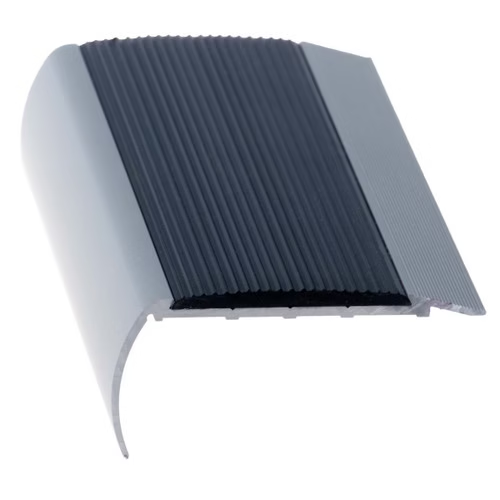
If you’re installing new carpet to a staircase you should make sure the stair nosing’s are well rounded and not square to prevent unnecessary damage to both your carpet and underlay. For an extra good fit, cut the underlay about 3 cm narrower than the width of the stairs so you will be able to turn the carpeting edge under. You may also need to install tack strip on each step to maintain proper tension in the carpeting.
Attach a tack strip on each tread and riser with pins on the steps aiming toward the riser and having the pins of the riser tack strip pointing down toward the tread. The gap you leave between the treads should be a little less than twice your carpet’s thickness.
Lastly:
- Put down your underlay.
- Use a knee kicker or stair stretcher to install your carpet and make the carpet look as smooth as possible.
- Fit your carpet to the tack strip as tightly as possible, pushing it into the gullies between the treads and the risers using a stair tool.
- Make sure the carpet lays smoothly over the stair’s steps.
When you are finished installing your carpet remove all the excess trim and vacuum the entire surface & corners. You are now ready to enjoy your new carpet and the satisfaction of doing your own carpeting job.


